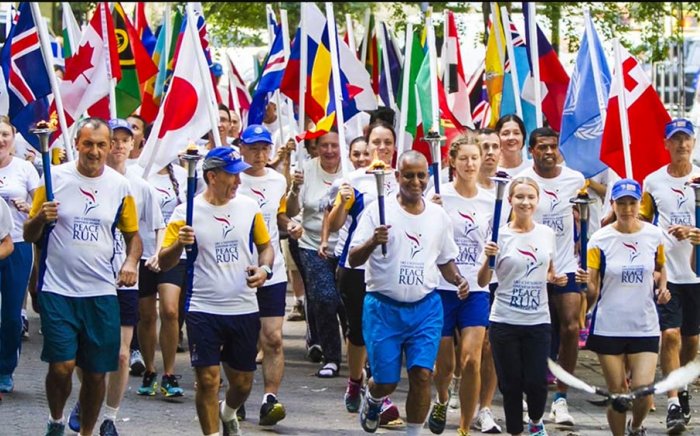
8 March
Before sending a message, check if there are local contact details for a Sri Chinmoy Centre in your country (see the list below). If you don't see your country, then please use this form and we'll make sure it gets to the right person.
For copyright and media requests, you can also use this form.
Local contacts: Australia • Bangladesh বাংলাদেশ • Bosnia and Herzegovina • Brazil Brasil • Bulgaria България • Canada • Czech Republic Česko • Croatia Hrvatska • Estonia • France • Finland Suomi • Georgia საქართველო • Great Britain • Ghana • Greece Ελλάδα • Hungary • Iceland Ísland • India • Indonesia • Ireland • Italy Italia • Japan 日本 • Kenya • Macedonia • Mongolia Монгол • Nepal नेपाल • Netherlands Nederland • New Zealand • Portugal • Puerto Rico • Russia Россия • Serbia • Singapore • Slovenia Slovenija • Slovakia Slovensko • South Africa • United States
• German-speaking countries/Deutschsprachige Länder Germany, Austria and Switzerland
• Spanish-speaking countries/Países de habla hispana Spain, Central and South America
There are a few sections to this page:
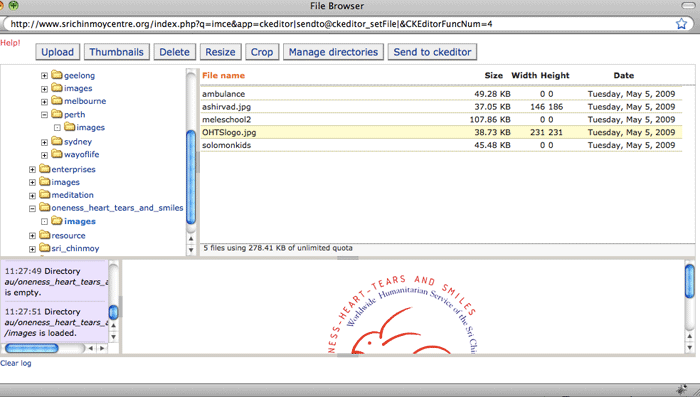
We have kept the existing Plone structure of images, so you will find images already existing in subfolders. However, you may want to create more subdirectories to organize your images, e.g
To do this, navigate to the subdirectory /ca/images. Then click on the 'Manage directories' button, and type in a name (e.g. 'small') then click Add. You can now add images into this subdirectory /ca/images/small.
You can also use the 'Manage directories' button to remove directories

Note: to change the size of the cropping window, don’t try to change the size of the pink square (it wont work). Instead, click and drag to create a new pink cropping window. When you are happy, press ‘crop’. You can choose to crop the existing image or create a new, duplicate image.
After you have added the image, press 'Source' and find the HTML for the image - we need to add a title attribute.
Changing it is relatively straightforward. The basic code for the image will look something like
<img src="/files/members/asprihanal.png" alt="" />
We change this by adding a title attribute:
<img src="/files/members/asprihanal.png" alt="" title="Asprihanal"/>
Once this is done, then click Source again, then click on the ‘Styles’ dropdown and add one of the 3 styles there (‘Align image to left, Align image to right, Unaligned image with caption’). You won’t see the caption immediately, but you will see it once you’ve finished editing and pressed ‘Save’.

Browsing Other Sections to Find Images
First-hand experiences of meditation and spirituality.


interviews with Sri Chinmoy's students


Except where explicitly stated otherwise, the contents of this site are licensed under a Creative Commons Attribution-NonCommercial-NoDerivs 3.0 Unported License. read more »
SriChinmoyCentre.org is a Vasudeva Server project.
