8 March
Before sending a message, check if there are local contact details for a Sri Chinmoy Centre in your country (see the list below). If you don't see your country, then please use this form and we'll make sure it gets to the right person.
For copyright and media requests, you can also use this form.
Local contacts: Australia • Bangladesh বাংলাদেশ • Bosnia and Herzegovina • Brazil Brasil • Bulgaria България • Canada • Czech Republic Česko • Croatia Hrvatska • Estonia • France • Finland Suomi • Georgia საქართველო • Great Britain • Ghana • Greece Ελλάδα • Hungary • Iceland Ísland • India • Indonesia • Ireland • Italy Italia • Japan 日本 • Kenya • Macedonia • Mongolia Монгол • Nepal नेपाल • Netherlands Nederland • New Zealand • Portugal • Puerto Rico • Russia Россия • Serbia • Singapore • Slovenia Slovenija • Slovakia Slovensko • South Africa • United States
• German-speaking countries/Deutschsprachige Länder Germany, Austria and Switzerland
• Spanish-speaking countries/Países de habla hispana Spain, Central and South America
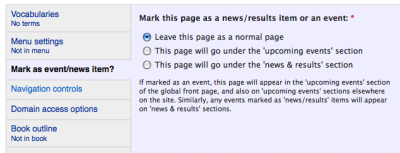
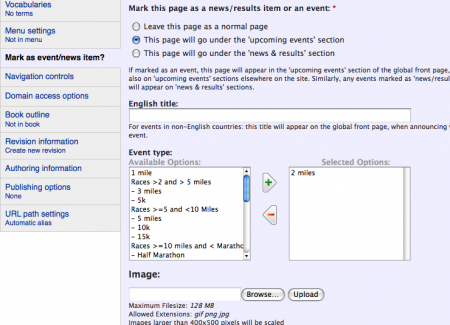
After choosing 'This page will go under the upcoming events section", more fields will appear. These will allow you to supply information so the site can be displayed on the global front page (and other places on the site). You also have the option to display this information on the page itself, on a sidebar similar to the old Plone sites.
Note: If you don't see these additional fields, just click on one of the radio buttons 'This page will go under..." - This will reveal the rest of the options. The options for pages marked as 'event' will be different for pages marked as 'news' although they will still have some things in common.
If you are planning for your item to appear in any 'views' which contain a 'teaser' description, or in the 'events' or 'news' sidebar block, you will need to specify it in the body field.
The teaser is a short sentence or two, like the first couple of sentences of a news report, enticing the reader to read more. (Basically, it's the same as the 'Description' field in Plone).
You have a choice:
To do the first one (assuming the content is written already) just place the cursor where you want the teaser to end, and press the 'Teaser' button. A red line will now seperate teaser and cursor. The 'show summary in page view' checkbox should be already ticked, leave it like that. Be careful not to include images or any other formatting in the teaser - it should just be plain text.
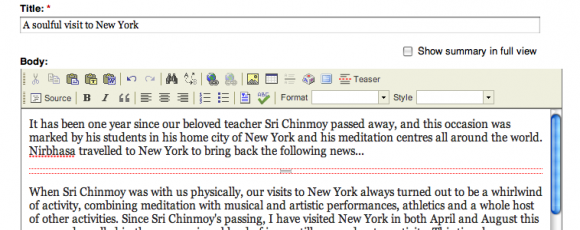
To have the teaser seperate from the page content, write the teaser above the content, hit the 'Teaser' button, and uncheck the 'show summary in page view' checkbox. For best results, remove the whitespace below the red line so the content is right up against it.
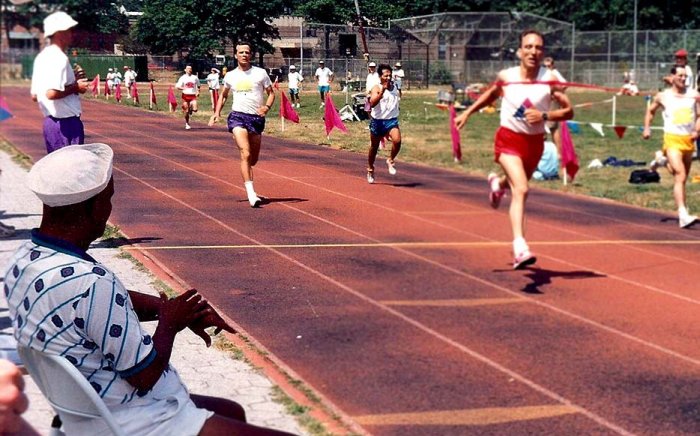
If you are doing a race, it is important to select the type here:
1. You can use it in listings of events generated by views
2. Even if you don't use it, selecting the event type will allow the race to appear in listings provided by other country sites, and the main site. For example, all races with the '2 miles' category can be automatically listed on the new 2 Mile Race site.
To designate an event as a 2 Mile Race, choose that in 'Available options' and use the '+' button to add to Selected Options. (It is not enough to just select it)
If an event falls under more than one category (e.g events with more than one race), you can add multiple cetegories to 'Selected Options'.
As well as events/race types there are also some categories there for news items (eg inspiring news)
We can also upload an image to appear along with the news item / event item in the sidebar block and page. You can upload a camera quality image here (it will be automatically scaled down to 350px wide) but for best results you might consider resizing it yourself first. If you think the 'Latest News' section looks nicer without images, just leave this field alone.
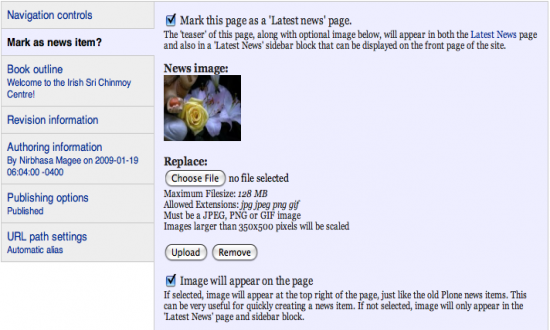
You can include your image in the page itself by ticking the 'Image will appear on the page' checkbox, which is very convenient if you need to create your news item in a hurry!
You can enter From: and To: dates. The date will be displayed differently depending on whether it is a one-day or multiday event.
There is also the opportunity to set repeat events, such as the 2 mile race (you can even specify weeks where it will not be happening).
In the Advanced menu, you can display things further - although it might not display so well if you are planning on including event details in the page body. (E.g: one thing that doesnt work so well right now is if you select 'every Saturday' - it shows 'Takes place every week every Saturday')
If you select an entry method and add the URL (and if choose to display event details in page body), nice 'Enter online'/'Download entry form' buttons will be displayed both in the page body, and in any 'views' you place in your site. You can select either/both/none as you wish.
Download entry form: http://www.srichinmoylife.com/files/psdbuttons/download-lg.psd
Enter online: http://www.srichinmoylife.com/files/psdbuttons/online-lg.psd
View photos: http://www.srichinmoylife.com/files/psdbuttons/gallerylink-lg.psd
View results: http://www.srichinmoylife.com/files/psdbuttons/results-lg.psd
Once edited the files should be saved as PNG's and placed in the 'entryimages' folder of your country site.
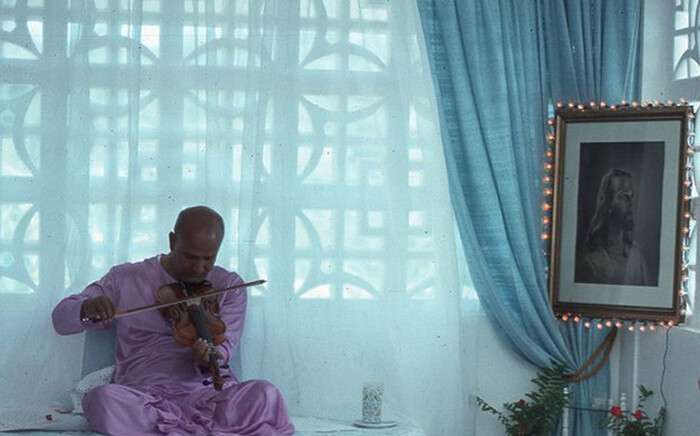
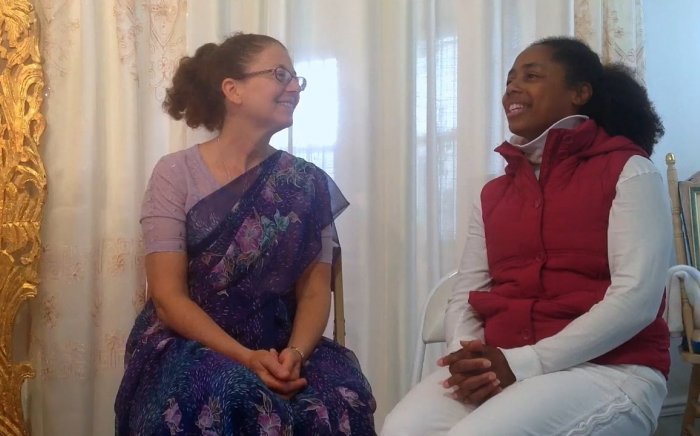
First-hand experiences of meditation and spirituality.


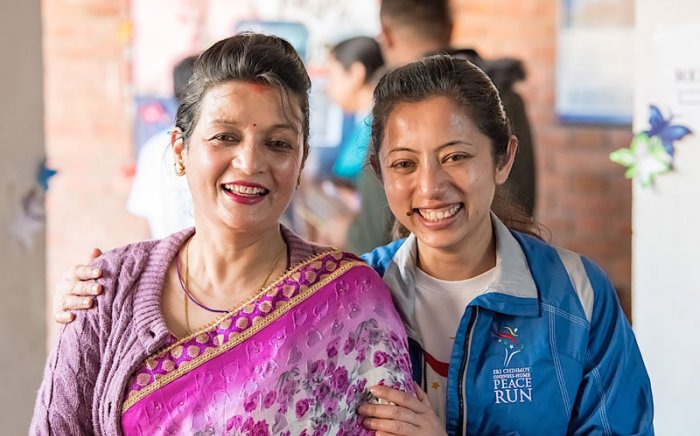
interviews with Sri Chinmoy's students


Except where explicitly stated otherwise, the contents of this site are licensed under a Creative Commons Attribution-NonCommercial-NoDerivs 3.0 Unported License. read more »
SriChinmoyCentre.org is a Vasudeva Server project.